Introduction to Puncture Repairs on the Trail
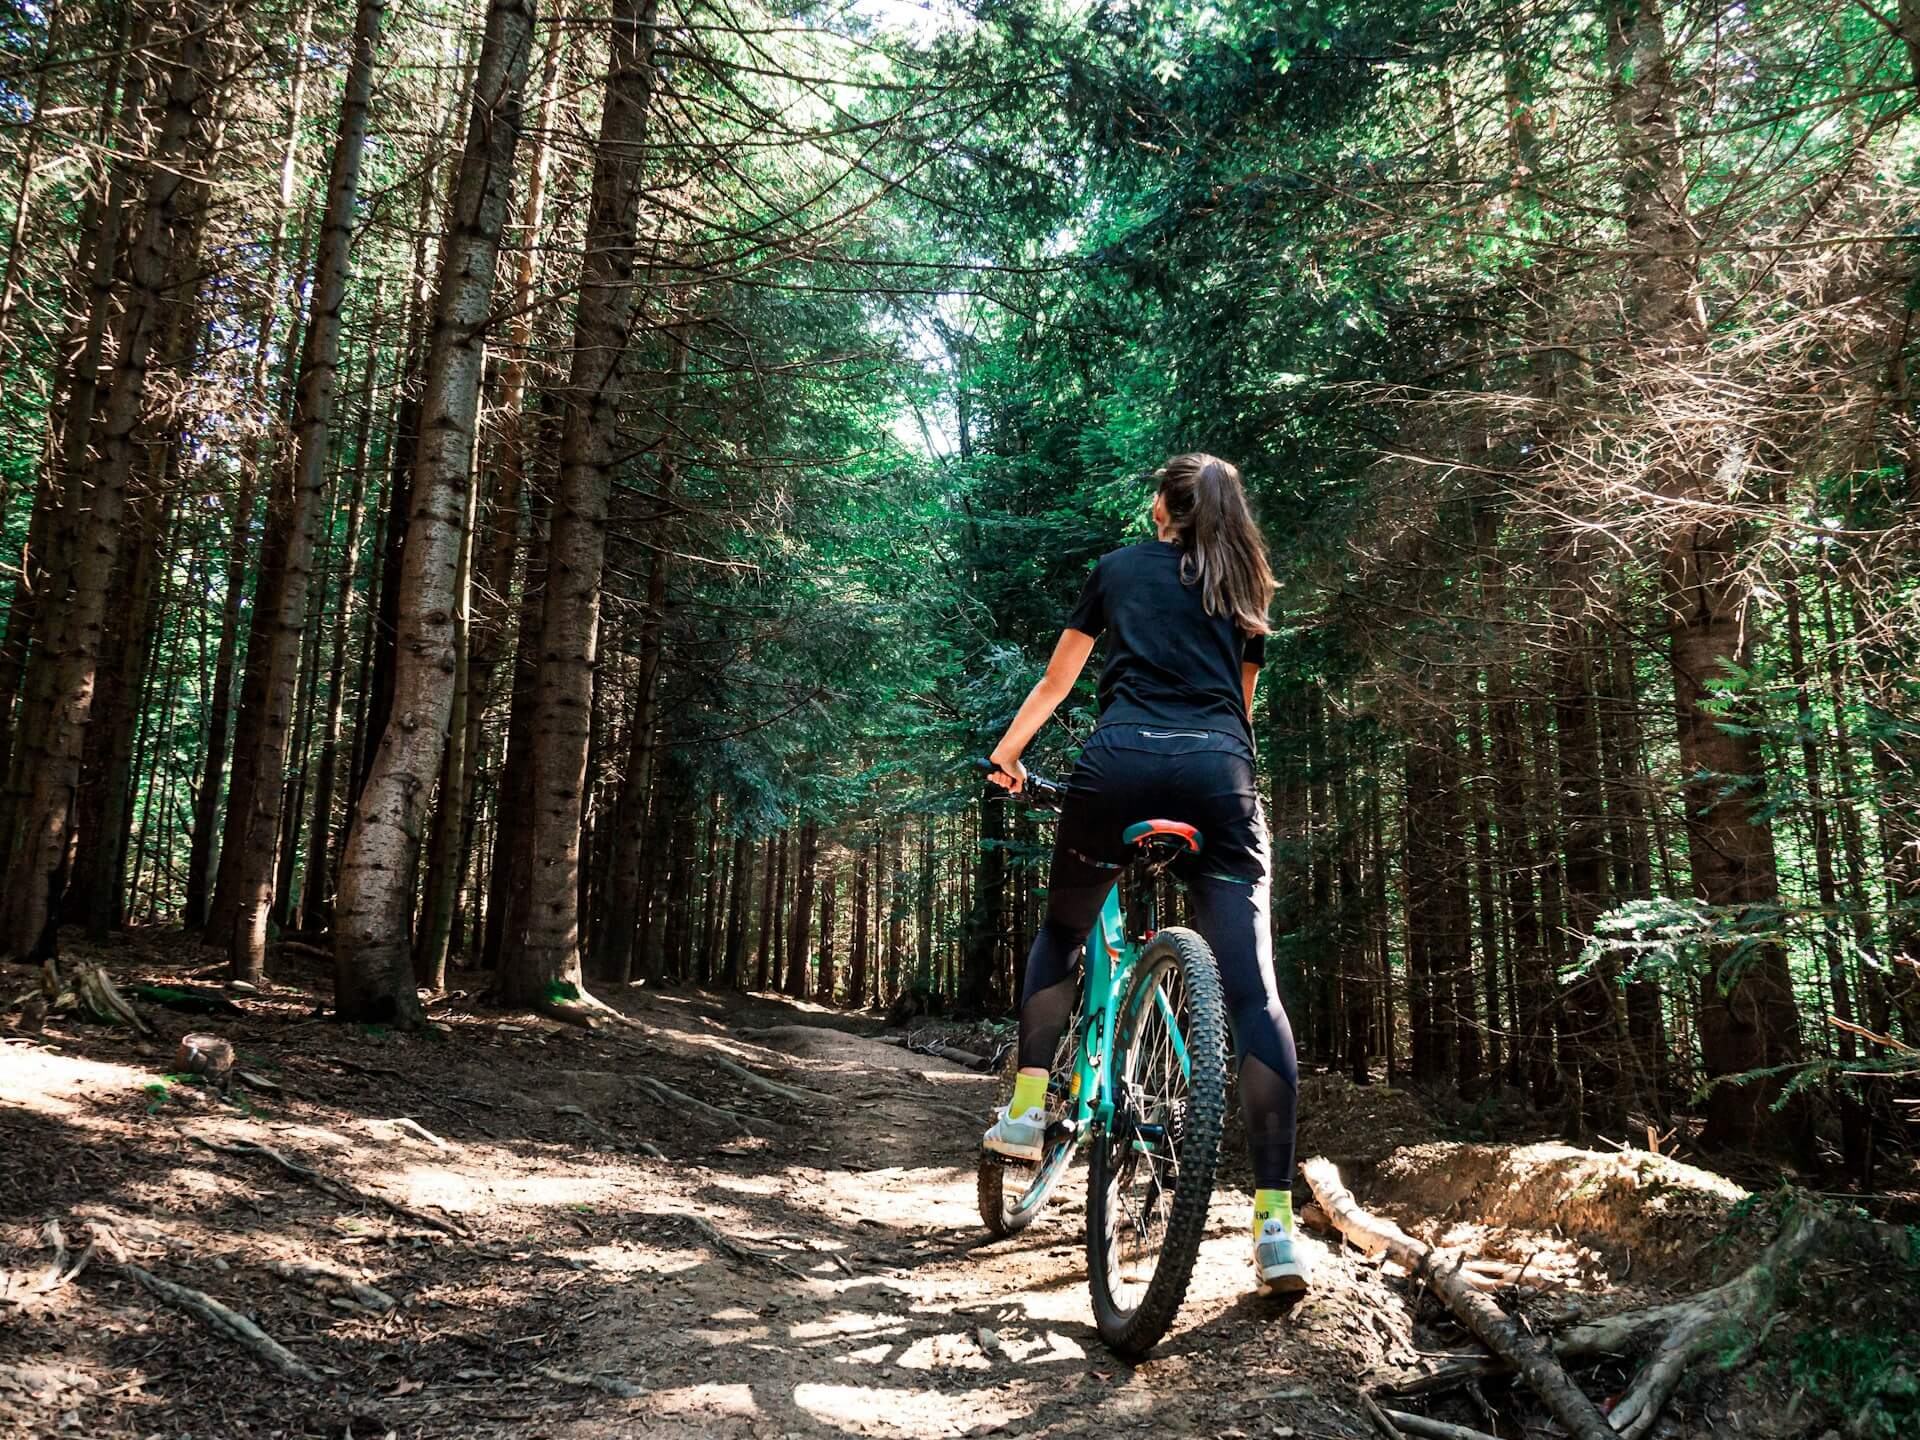
Knowing how to handle a puncture when out on the trail is an invaluable skill for every mountain biker. Punctures can quickly turn a great ride into a frustrating ordeal. Getting back on the trail swiftly and confidently requires basic knowledge of tire repair.
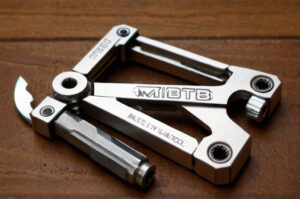
Punctures can occur from thorns, sharp rocks, or debris, all common in mountain biking environments. A well-prepared rider carries a puncture repair kit, which typically includes tire levers, patches, adhesive, and a pump or CO2 inflator. With these tools at hand, you can address punctures promptly and efficiently.
We will dive into a practical step-by-step trail puncture repair guide. By mastering these straightforward steps, riders can minimize downtime and continue enjoying their ride with minimal disruption.
Step 1: Preparation and Safety
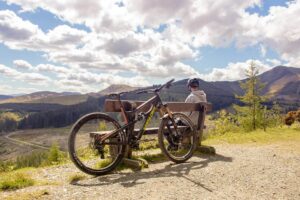
Before diving into the repair, ensure your safety by moving away from the trail to prevent accidents with passing riders. It’s crucial to keep calm and assess your surroundings. Dismount your bike, engage the brakes, and if available, lean it against a tree or lay it down on a gentle slope to keep it stable.
Locate the puncture by inspecting the exterior for visible signs such as thorns or nails. To accurately find the puncture, you might need to inflate the tire slightly. Gather your tools—patches, levers, and a pump—so they are organized and accessible.
Step 2: Removing the Wheel and Tire
To remove the wheel, unlock the quick release or unscrew the bolts depending on your bike’s configuration. Lift the wheel out carefully, paying attention to the alignment of disc brakes or gears. With the wheel off, use tire levers to gently pry the tire off the rim starting opposite the valve. Work your way around until the tire loosens.
Check the tire’s inside and the rim for other sharp objects or damages that could cause another puncture. Keeping all parts like screws and valve caps in a small container or bag will help avoid losing them during the repair process.
Step 3: Locating and Preparing the Puncture Site
Once the tube is removed, inflate it again to make the hole more distinct, making it easier to spot by sight or by listening for escaping air. Clean the area around the puncture with a dry cloth to ensure the patch will adhere properly.
Choose a patch that adequately covers the puncture. If you’re using a glue-on patch, apply a thin layer of adhesive around the puncture and let it become tack. Position the patch over the puncture, press firmly, and hold for a few minutes to ensure a strong bond.
Step 4: Applying the Patch and Re-assembly
After the patch is securely in place, it’s time to put everything back together. Start by carefully inserting the tube back inside the tire. Ensure the patch isn’t peeling off or bunching up, which can allow air to escape. Fit one side of the tire back onto the rim.
With one side in, tuck the tube back into the tire, making sure it sits evenly. Work the other side of the tyre into the rim, starting at the opposite end of the valve for easier handling. Ensure the tire is evenly seated around the rim to avoid bulges or dips.
Step 5: Inflating the Tire and Final Checks
Once the tire is fully assembled, begin inflating it to the recommended pressure. Pay careful attention to how the tire seats on the rim as you inflate. Check the patched area and the valve to ensure no air leaks. Spin the wheel to ensure it’s aligned and turns freely without wobbling.
If the patch doesn’t hold, deflate the tire slightly, readjust or replace the patch, and try again. With practice, installing a tire patch becomes a swift and straightforward process.
Troubleshooting and Additional Tips
Despite best efforts, sometimes a patch will not hold. Always carry a spare tube as a backup for such situations. Regularly inspecting your tires for wear and potential hazards can prevent many punctures from happening in the first place.
Always carry a basic repair kit on rides which includes at least tire levers, spare patches, a pump, and a multi-tool. Learning to perform these repairs quickly makes for safer, more enjoyable rides, ensuring you’re not left stranded on the trail.