Table of Contents
Introduction to Mountain Bike Lights
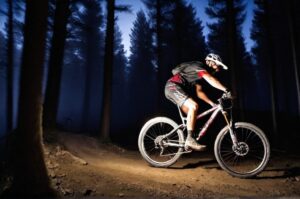
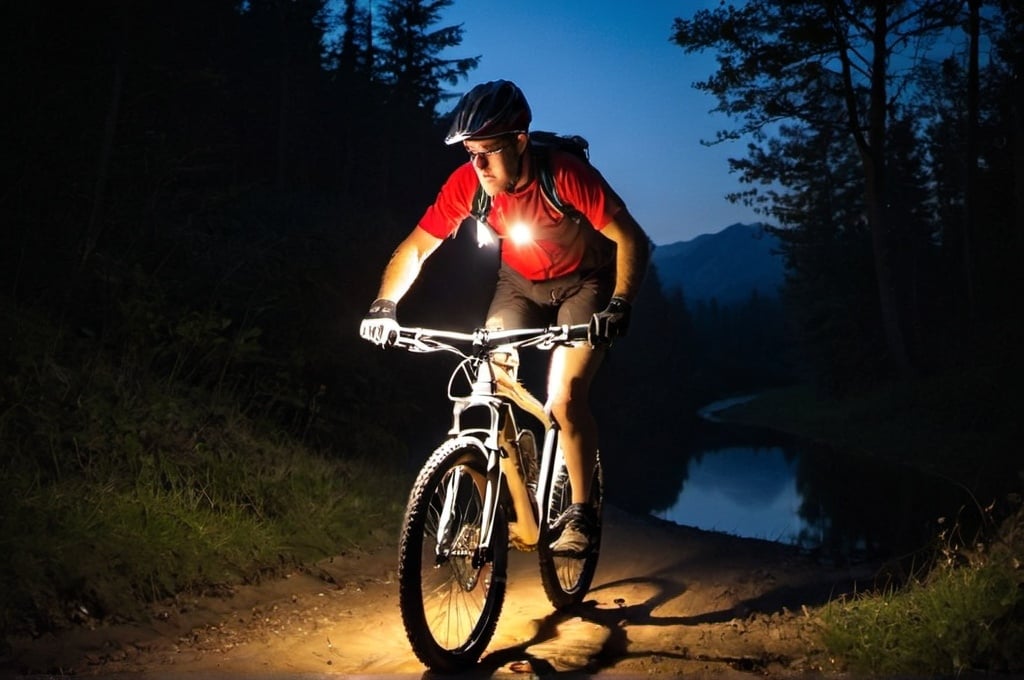
If you are a night rider or someone who enjoys the thrill of early morning or late evening mountain biking, the importance of proper lighting can’t be overstated. Not only do bike lights ensure your safety by making you visible to others, but they also illuminate your path, enhancing your performance during low-light conditions. This article will guide you through the maze of bike lighting options by focusing on three main aspects: lumens, beam patterns, and batteries.
In this comprehensive guide, we will dive into key terms such as lumens, beams, and battery types, offering clear definitions and practical insights. You’ll understand how to choose the right bike lights for your needs, whether you’re riding through dense forests or wide-open trails. We’ll also explore the latest advancements in bike lighting technology, ensuring you’re well-equipped to make an informed decision.
The field of bike lighting technology has evolved dramatically. Today’s bike lights are more powerful, durable, and versatile than ever. With improvements in LED technology and battery efficiency, riders now have access to lights that offer a perfect combination of brightness and longevity, ensuring a safe and thrilling ride regardless of the terrain or time of day.
Understanding Lumens and Brightness
The term lumens is often encountered when discussing bike lights, but what does it actually mean? Essentially, lumens measure the total amount of visible light emitted by a source. The higher the lumens, the brighter the light will be. Whether you’re riding through a well-lit urban area or a pitch-dark forest trail, understanding how many lumens you’ll need is crucial for optimal performance and safety.
For instance, a bike light with around 200-400 lumens may suffice for urban commuting, but for mountain biking in low-light conditions, a lumen range of 800-1200 is more appropriate. Comparatively, terms like candlepower and lux are also used to describe brightness. Candlepower measures light intensity in one direction, while lux accounts for the light’s spread over a particular area. Lumens, being more comprehensive, provide a straightforward measure of a light’s overall brightness.
However, perceived brightness is not only about lumens. Factors such as beam pattern, ambient light, and reflection can significantly affect how bright a light appears to you. A well-designed light will not just be high in lumens but will also have a beam pattern suited to your specific needs, whether that’s a wide flood for broad visibility or a focused spot for long-distance illumination.
Beam Patterns: Flood vs. Spot
When choosing a bike light, you’ll often encounter two main types of beam patterns: flood and spot. Flood beams provide wide coverage, illuminating a broad area around you. This type of beam is excellent for slow or technical riding where you need to see obstacles and terrain in your immediate environment. Flood beams distribute light evenly, making them ideal for trail riding and navigating tight corners.
In contrast, spot beams focus light into a smaller, more intense area, making them suitable for high-speed descents or straight paths where seeing far ahead is crucial. The concentrated light can penetrate deeper into the darkness, giving you more reaction time for upcoming obstacles. However, spot beams don’t offer much lateral visibility, which can leave the edges of your vision in shadow.
Each beam type has its own pros and cons. Flood beams may be less effective at long distances, while spot beams can create tunnel vision. This is where dual-beam systems come into play, combining the wide coverage of flood beams with the long-distance focus of spot beams. Such systems offer a balanced lighting solution, catering to various riding scenarios and ensuring comprehensive trail visibility.
Battery Options and Considerations
Batteries are another critical factor when selecting bike lights, with two primary types to consider: rechargeable (Li-ion) and disposable (alkaline). Rechargeable lithium-ion batteries are popular due to their long life and high power output, though they tend to be more expensive upfront. Disposable alkaline batteries, on the other hand, are cheaper and readily available, but they are not as cost-effective over time and produce more waste.
Your choice of battery will also influence the run-time of your lights. Knowing how long your lights can last on different settings—high, medium, and low—is essential for planning long rides. For instance, a light may provide 2-3 hours of high-output lighting but can last up to 10 hours on a lower setting. Understanding these metrics can help you avoid getting caught in the dark unexpectedly.
For those who go on extended rides or participate in races, quick-swap battery systems are highly beneficial. These systems allow you to carry spare batteries and swap them out in seconds, ensuring that you always have sufficient lighting no matter how long your ride lasts. This feature is particularly useful for endurance events or multi-day bikepacking trips.
Mounting and Positioning Your Lights
Once you have selected the appropriate bike lights, the next step is to mount them correctly. There are various mounting options available, including handlebar, helmet, and frame mounts. Each provides distinct advantages depending on your lighting needs and riding style. Handlebar mounts are great for illuminating the path directly in front, while helmet mounts offer the flexibility of directing light wherever you look.
Positioning your lights at optimal angles is vital for maximizing visibility. Handlebar lights should be angled slightly downwards to illuminate the trail just ahead, preventing glare and ensuring that you don’t blind oncoming riders or drivers. Helmet lights should complement the handlebar lights by covering any dark spots and providing additional perspective.
Many riders use multiple lights to achieve comprehensive coverage. For example, combining a high-lumen handlebar light with a lower-lumen helmet light can offer the best of both worlds—broad flood lighting and focused spot illumination. Ensuring that your mounts are secure is equally important; loose mounts can cause lights to shift or even fall, compromising your safety and ride quality.
Waterproofing and Durability
Given that mountain biking often involves harsh and unpredictable conditions, the waterproofing and durability of your bike lights are paramount. Waterproof ratings, typically denoted by IPX ratings, indicate how well a light can withstand moisture and water ingress. For most outdoor activities, an IPX6 or higher rating is advisable, ensuring that the lights remain functional even in heavy rain.
Durability encompasses more than just waterproofing. Look for lights with shock resistance and robust construction materials like aluminum or high-quality plastic. These features are critical for surviving the inevitable impacts and vibrations of off-road riding. High-quality materials not only extend the lifespan of your lights but also ensure consistent performance throughout their usage.
Maintaining your lights is essential for longevity. Regularly check seals, charging ports, and mounts for wear and tear. Clean the lenses to maintain optimal brightness and check the battery connections periodically. Proper maintenance ensures that your lights are always ready for the next adventure, no matter the conditions you face.
Top Bike Light Recommendations
With countless options on the market, choosing the right bike light can be overwhelming. Among the high-end options, the Lupine SL AX stands out for its superior brightness and customizable settings, making it a favorite among serious mountain bikers. On the budget-friendly side, the NiteRider Lumina 900 Boost offers excellent performance without breaking the bank.
When comparing features and performance, consider aspects like lumens, battery life, beam pattern, and mounting options. User testimonials and expert reviews can provide valuable insights into the real-world performance and durability of these lights. Websites like MTBR and BikeRadar frequently feature in-depth reviews that can help narrow down your choices.
Finally, consider where to buy and the warranty offered. Reputable online retailers and local bike shops often provide good deals and comprehensive warranties. Ensure that the lights you choose come with at least a one-year warranty against manufacturing defects, offering peace of mind for your investment.
Conclusion and Final Tips
To recap, understanding your bike light options is crucial for ensuring safety and performance during low-light rides. We’ve discussed the importance of lumens and brightness, beam patterns, battery types, mounting options, waterproofing, and durability. Each of these elements plays a vital role in selecting the right lighting system for your needs.
Additional tips for maximizing your lighting setup include always carrying a spare light or battery, investing in high-quality mounts, and regularly maintaining your lights to ensure optimal performance. Don’t cut corners when it comes to lighting; good lights can make the difference between a safe ride and a hazardous one.
We encourage you to invest in high-quality bike lights for your safety and to enhance your mountain biking experience. Feel free to share your own experiences and tips in the comments below. Together, we can make night riding safer and more enjoyable for everyone.